Mumara offers a WordPress plugin designed to integrate with your WordPress website. Following installation and configuration, the plugin directs all outgoing emails from your WordPress site via Mumara's servers. This integration facilitates access to reporting and analytics available in the Mumara One.
Follow these steps to install the Mumara WordPress plugin
Download Plugin: Obtain the plugin ZIP file from your client area.
Access WordPress Admin: Log in to your WordPress admin panel (typically yourdomain.com/wp-admin).
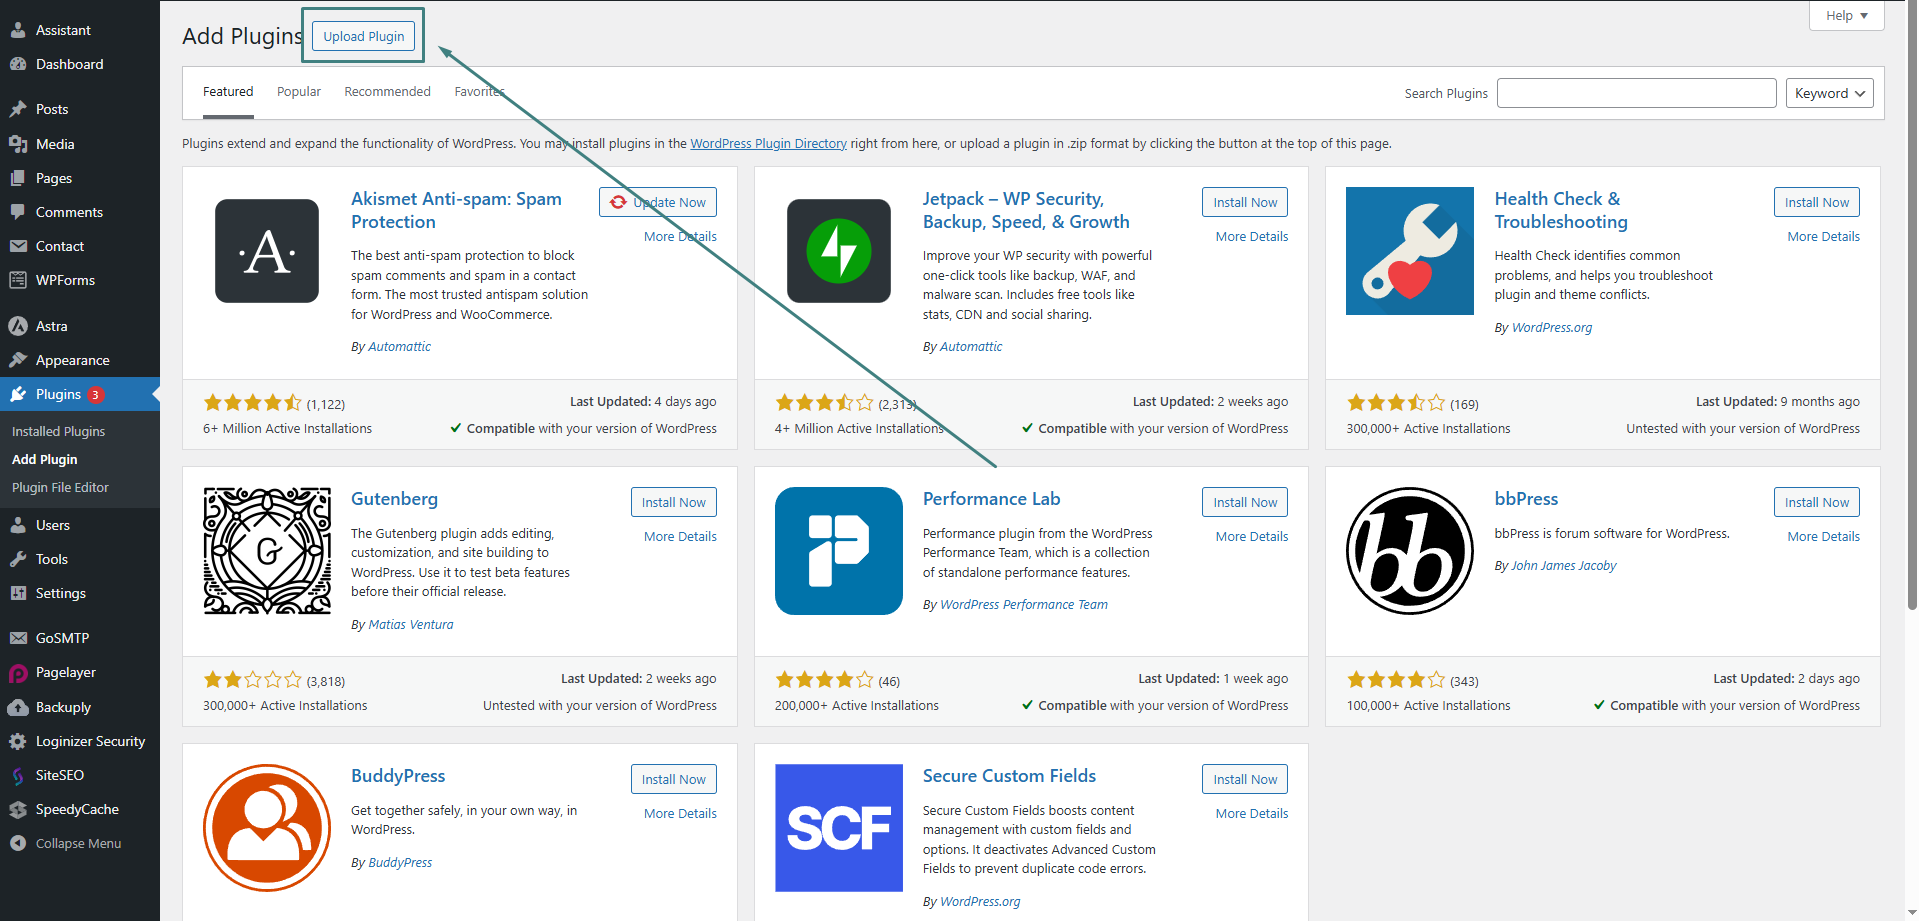
Navigate to Plugins: Select 'Plugins' > 'Add New' from the sidebar menu.
Upload Plugin: Click 'Upload Plugin'. Select the downloaded ZIP file using the 'Choose File' button.
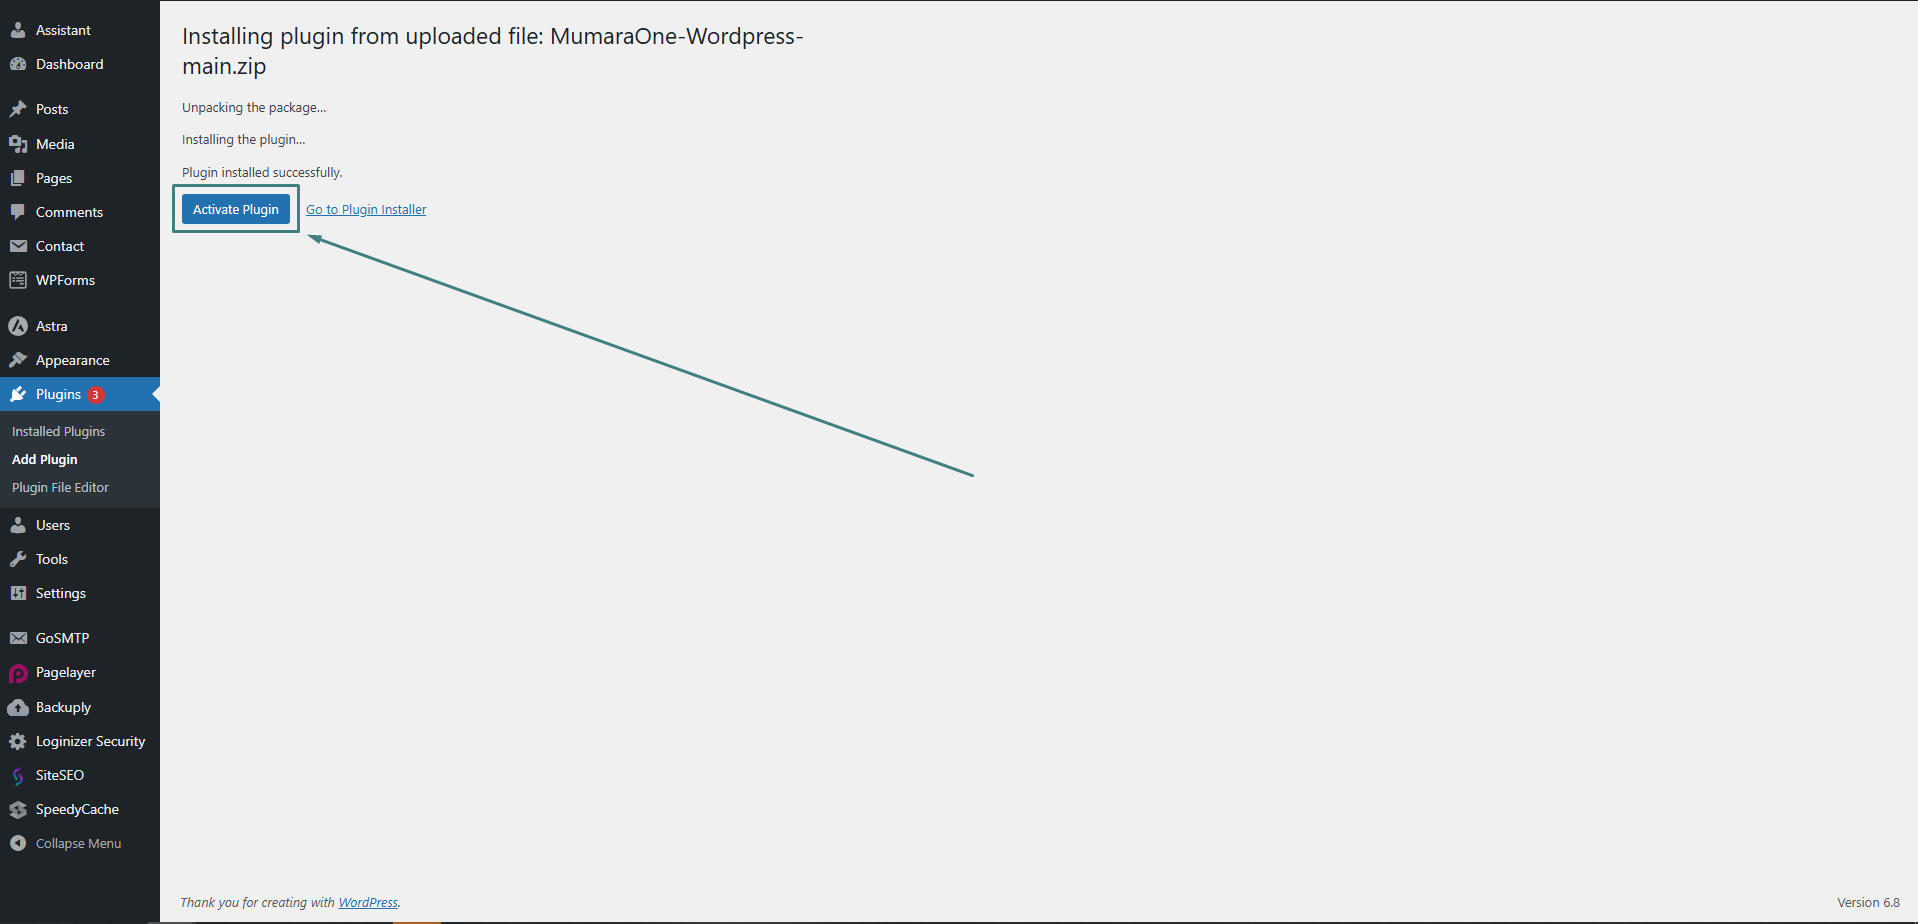
Install Plugin: Click 'Install Now' to begin the installation process.
Activate Plugin: Once the installation is complete, click the 'Activate' button.
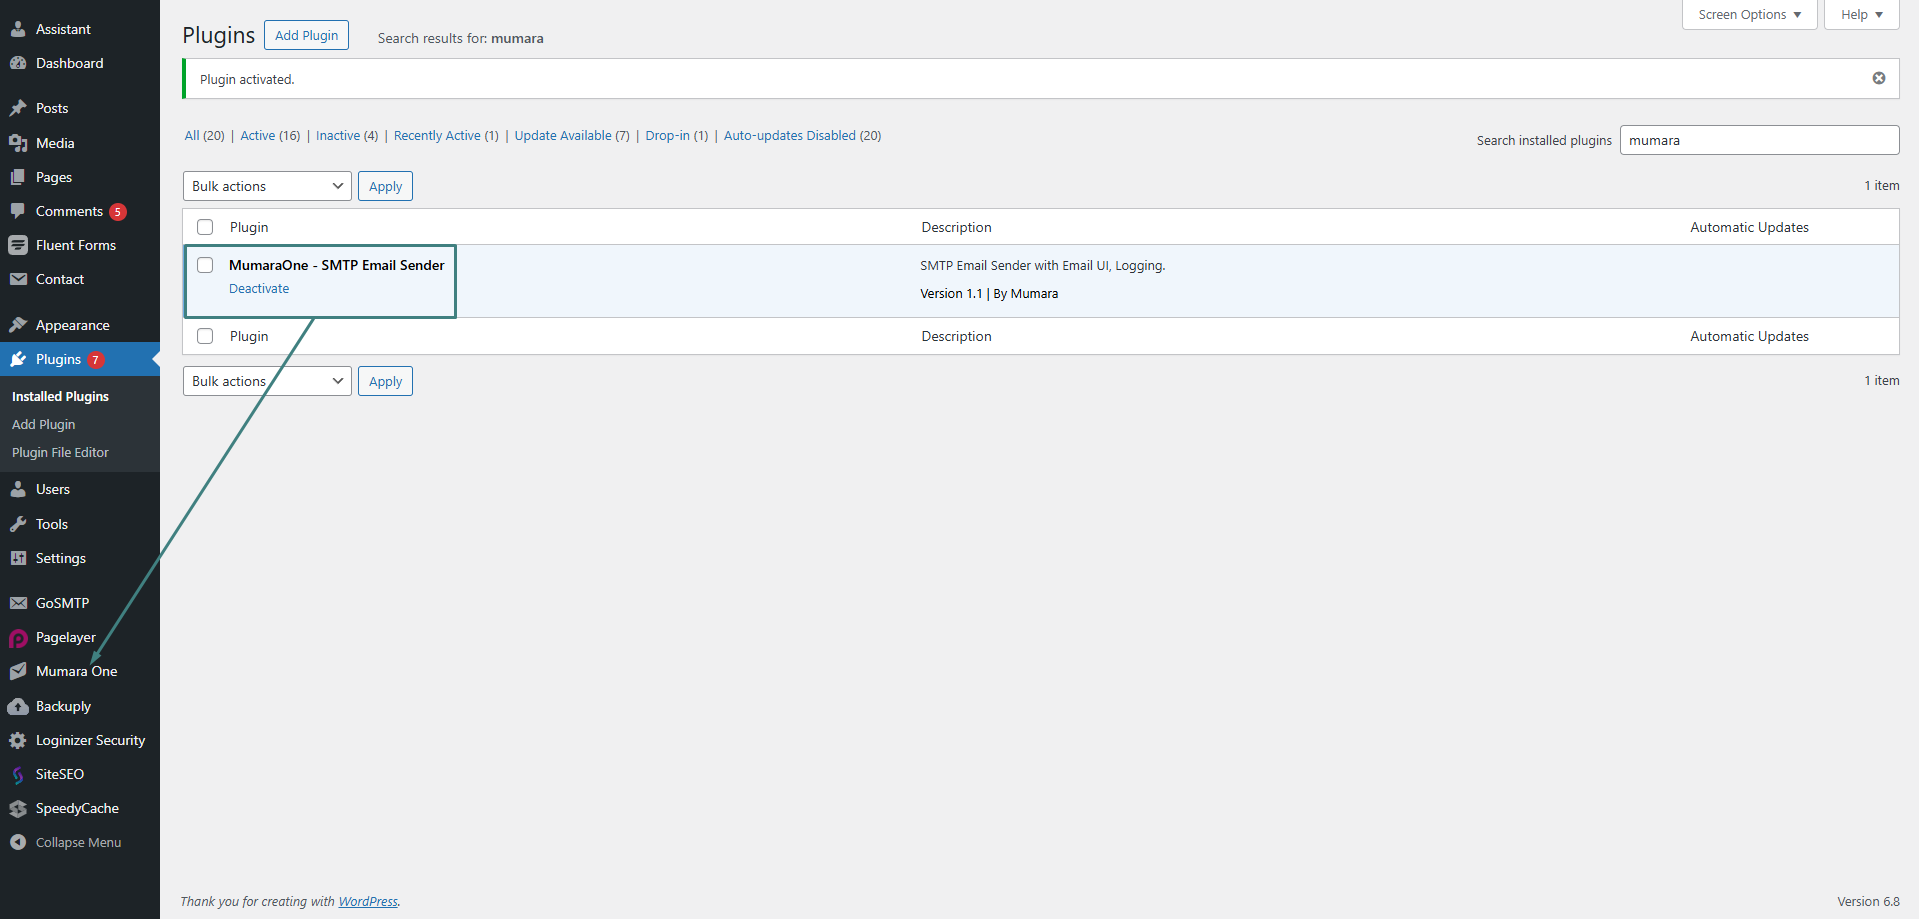
Verify Activation: After activation, you will be returned to the Plugins list. Confirm that 'Mumara One – SMTP Email Sender' is listed as active. A 'Mumara One' menu item will also be added to the WordPress sidebar
To configure the plugin, follow these steps:
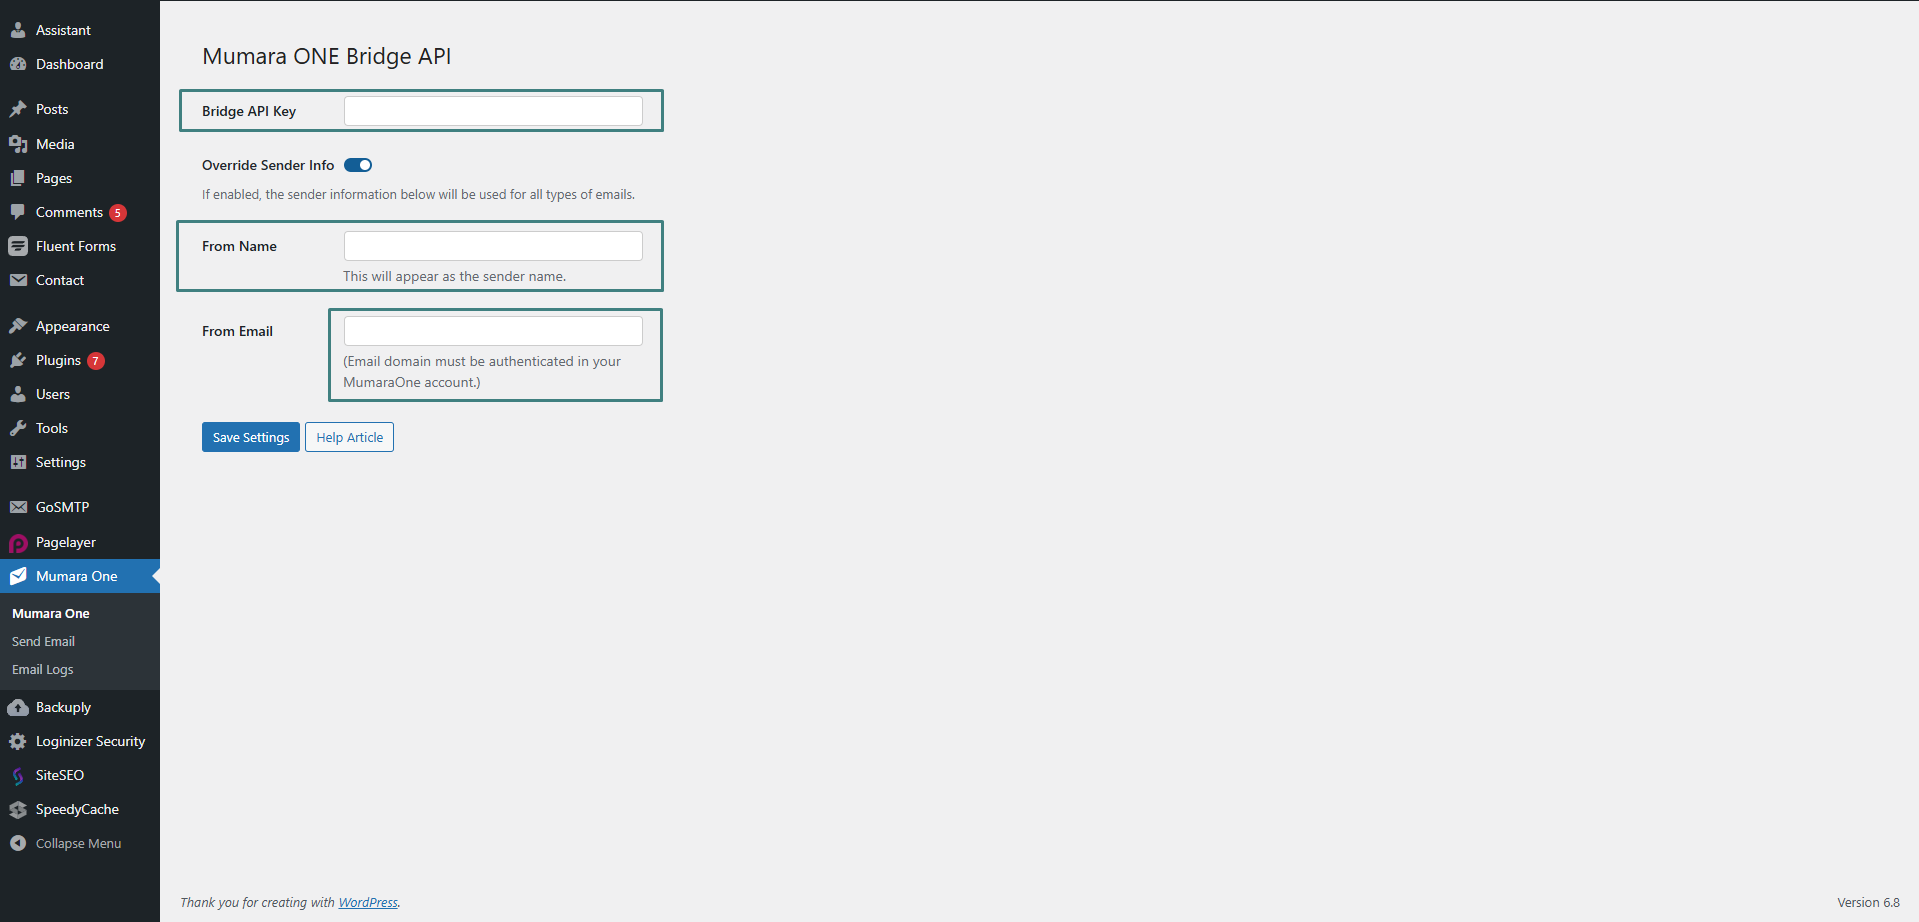
Access the plugin settings by selecting 'Mumara One' from the WordPress side menu.
Complete the following configuration fields:
Sender Name: Enter the name to be displayed as the sender for emails sent from your WordPress website.
Sender Email: Enter the email address to be used as the sender email.
(Note: The domain associated with this email address must be authenticated within your Mumara One account.)
Bridge API Key: Paste the Bridge API Key generated from your Mumara panel. This Key authorizes the connection between your WordPress site and Mumara One.
Toggle Button:
Emails sent from your WordPress website (such as password recovery emails or weekly analytics reports) will use the sender information provided here.
If the toggle button is turned ON, this sender information will also be used for all your webforms.
If the toggle button is turned OFF, webforms will use their own sender information, while system emails from your WordPress website will still use the sender details provided here.
To retrieve the Bridge API Key from your Mumara One account:
Log in to Mumara One: Access your Mumara One account using your credentials.
Navigate to Bridges: Select 'Transactional' > 'Bridges' from the main menu.
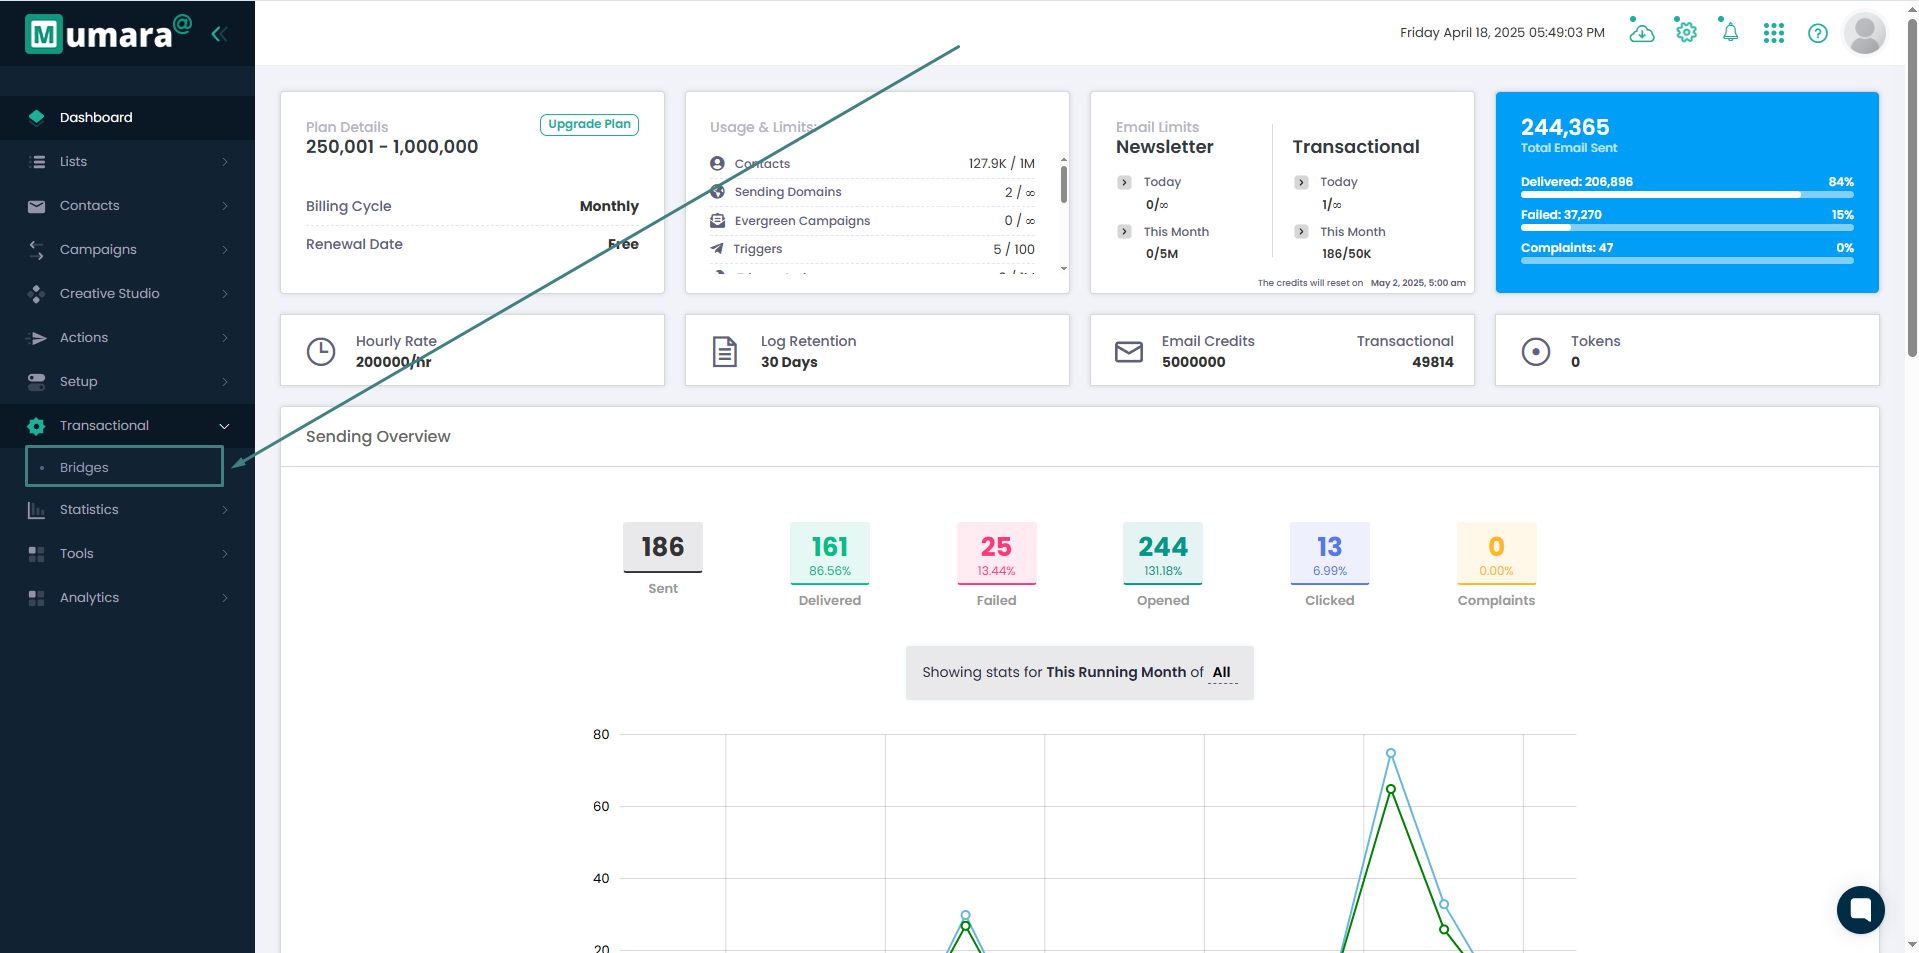
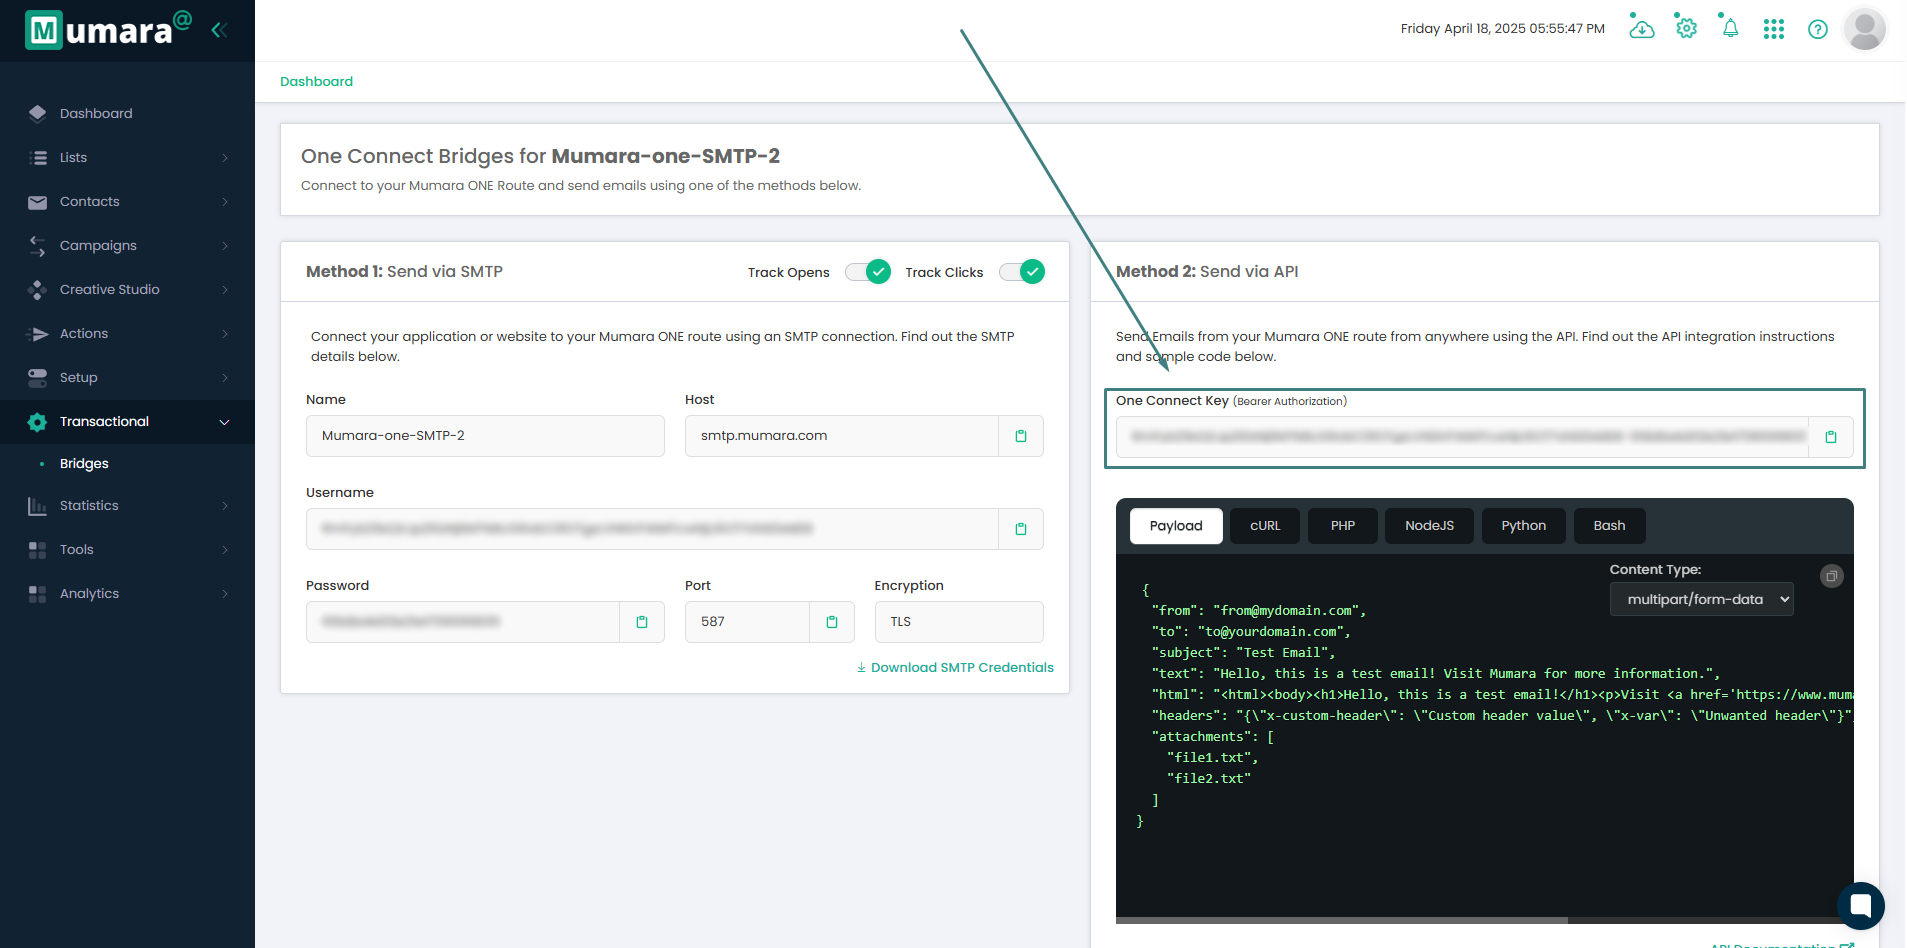
Select Your SMTP Bridge: From the list of configured SMTP bridges, click on the specific bridge intended for use with your WordPress integration.

Copy Bridge API Key: On the bridge details page, locate and copy the One Connect Key.
Paste Bridge API Key in WordPress: Return to the Mumara One plugin settings within your WordPress dashboard and paste the copied token into the 'Bridge API Key' field.

Upon successful configuration and saving of the settings, the Mumara One Bridge API Key integration with your WordPress website is complete. Outgoing emails from your WordPress site will now be routed through the configured Mumara bridge, and related analytics will be accessible within your Mumara account.
Bridge API Key
SMTP Bridge
Shopify Integration